| Back to Index |
This is a week I was looking forward to, because it marks the first step in one of my semester goals: to make my own RC airplane. As described on my wishful thinking page I want to make a model airplane that can be powered and controlled by a modular power system that I already own. One essential component is the power system's mounting carriage, the black thing seen in the airplane fuselage below:

In order to 3D print this part, I'd have to recreate it in a CAD program, export said 3D model as a .stl file, and utilize the 3D Printer software to make sure it gets printed with the supports it would need. So the first step was to take accurate measurements of the carriage I wanted to replicate. We would be printing using a fuse deposition modeling machine, either a 3DWox, a MakerBot, or an Ultimaker, the three models of printers in the Harvard fab lab. The Harvard lab also has a Formlab stereolithography printer, which uses lasers to cure resin with pinpoint precision, but the resin is expensive, and the resulting print, while having excellent resolution, is brittle, and therefore not a great choice for an airplane part. Print resolution on fdm printers isn't the best, but good enough for my purposes. Using digital calipers, I measured every dimension of the extant carriage to the nearest tenth of a milimeter. Any measurement smaller than that would be pointless, given the limitations of fdm printers.


Next came my big challenge for the week: get friendly with Fusion 360. I had tinkered with Fusion earlier in the semester, and it seemed to strike a balance between user-friendly and powerful. It's certainly more precise and versatile than Google Sketchup, but not as intimidating to use as SolidWorks. I spoke with Logan (another student in the Harvard section, and an experienced Fusion 360 user) about the best way to go about designing what I needed to design. We agreed that starting with a top-down sketch, extruding that sketch down where I needed to, and then carving those extrusions out from the front (or back) made the most sense. I figured out how to use the sketch and dimension tools, and it only took a few hours to get right!

The original carriage had hoops on the back that stuck up, meaning that no side of the carriage was perfectly flat. This would make printing it awkward, as there would be no way to lay it flat without printing supports for nearly the entire structure.

I wanted this carriage to print as straight as possible, so I wanted it to print upside-down, with the top of the carriage flat against the deck. I modified my carriage design so it would print well. (see first CAD image, above)
To the printer! The MakerBot was available, so I loaded my .stl file into the MakerBot print software, which converted it to an X3G file (I believe), saved it to an SD card, which I popped into the MakerBot, selected my file, and hit 'print'. The nozzle warmed to 230 degrees C (20 degrees higher than the Ultimaker, for whatever reason. Rob, the shop manager, thought it was fine.), and started laying out the raft.

And, about 40 minutes later, voila!

There was lots of cleaning to do, as much of the design needed structures to support them while printing, but a few minutes with an X-Acto knife took care of it.

The original assignment was to print something that could not bemade subtractively; that is to say, print an object that could not be made by a milling machine. I was only thinking about a 3D milling machine, like the Modelo we had used last week to mill out circuit boards. The carriage has hoops and overhangs that the Modelo would not have been able to do. While inspecting my print, however, I realized that a 4D milling machine, which could rotate the bit around to carve out overhands and circles from the side, could in theory also create this carriage. However, it would be a wasteful use of material to do it that way, so 3D printing seemed the best option. If necessary, I can go back and design something with a nested component that only a 3D printer could do, but with so much other work on my plate this weekend, I chose to not go back to the drawing board. Instead, I set about checking to make sure my freshly printed carriage was precisely the size I needed.
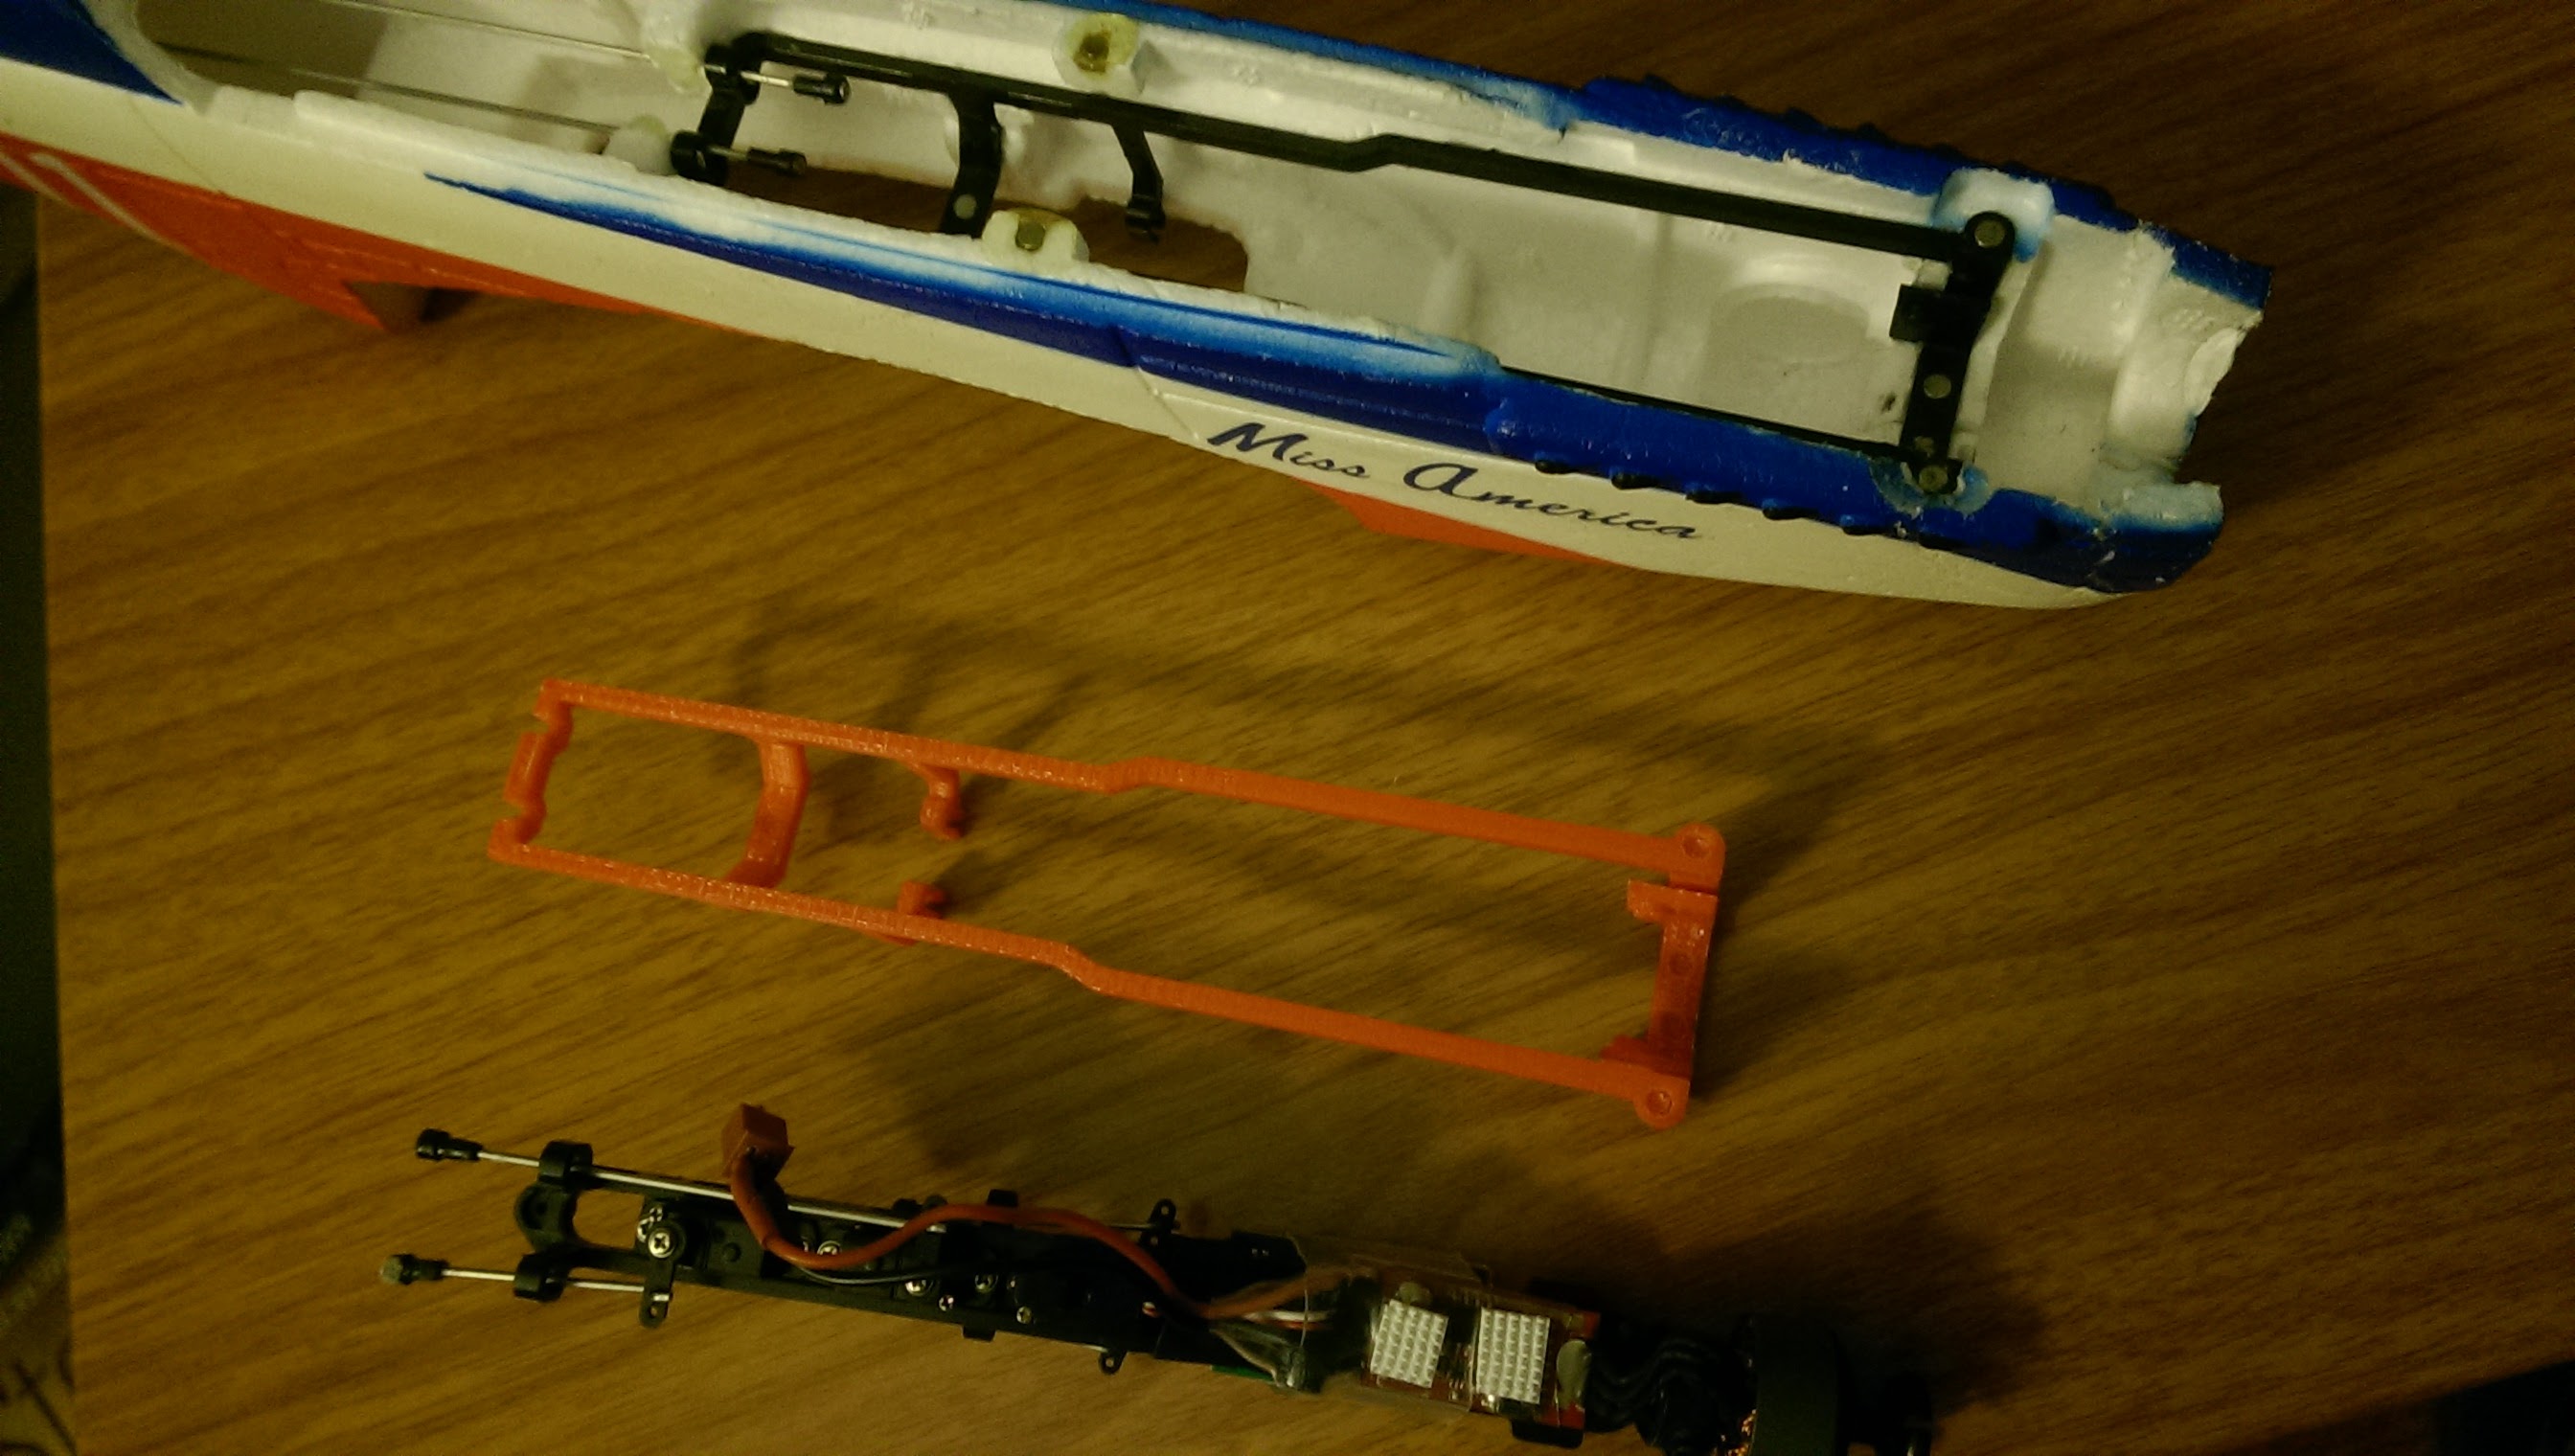
I grabbed the power system and slid it into place ...
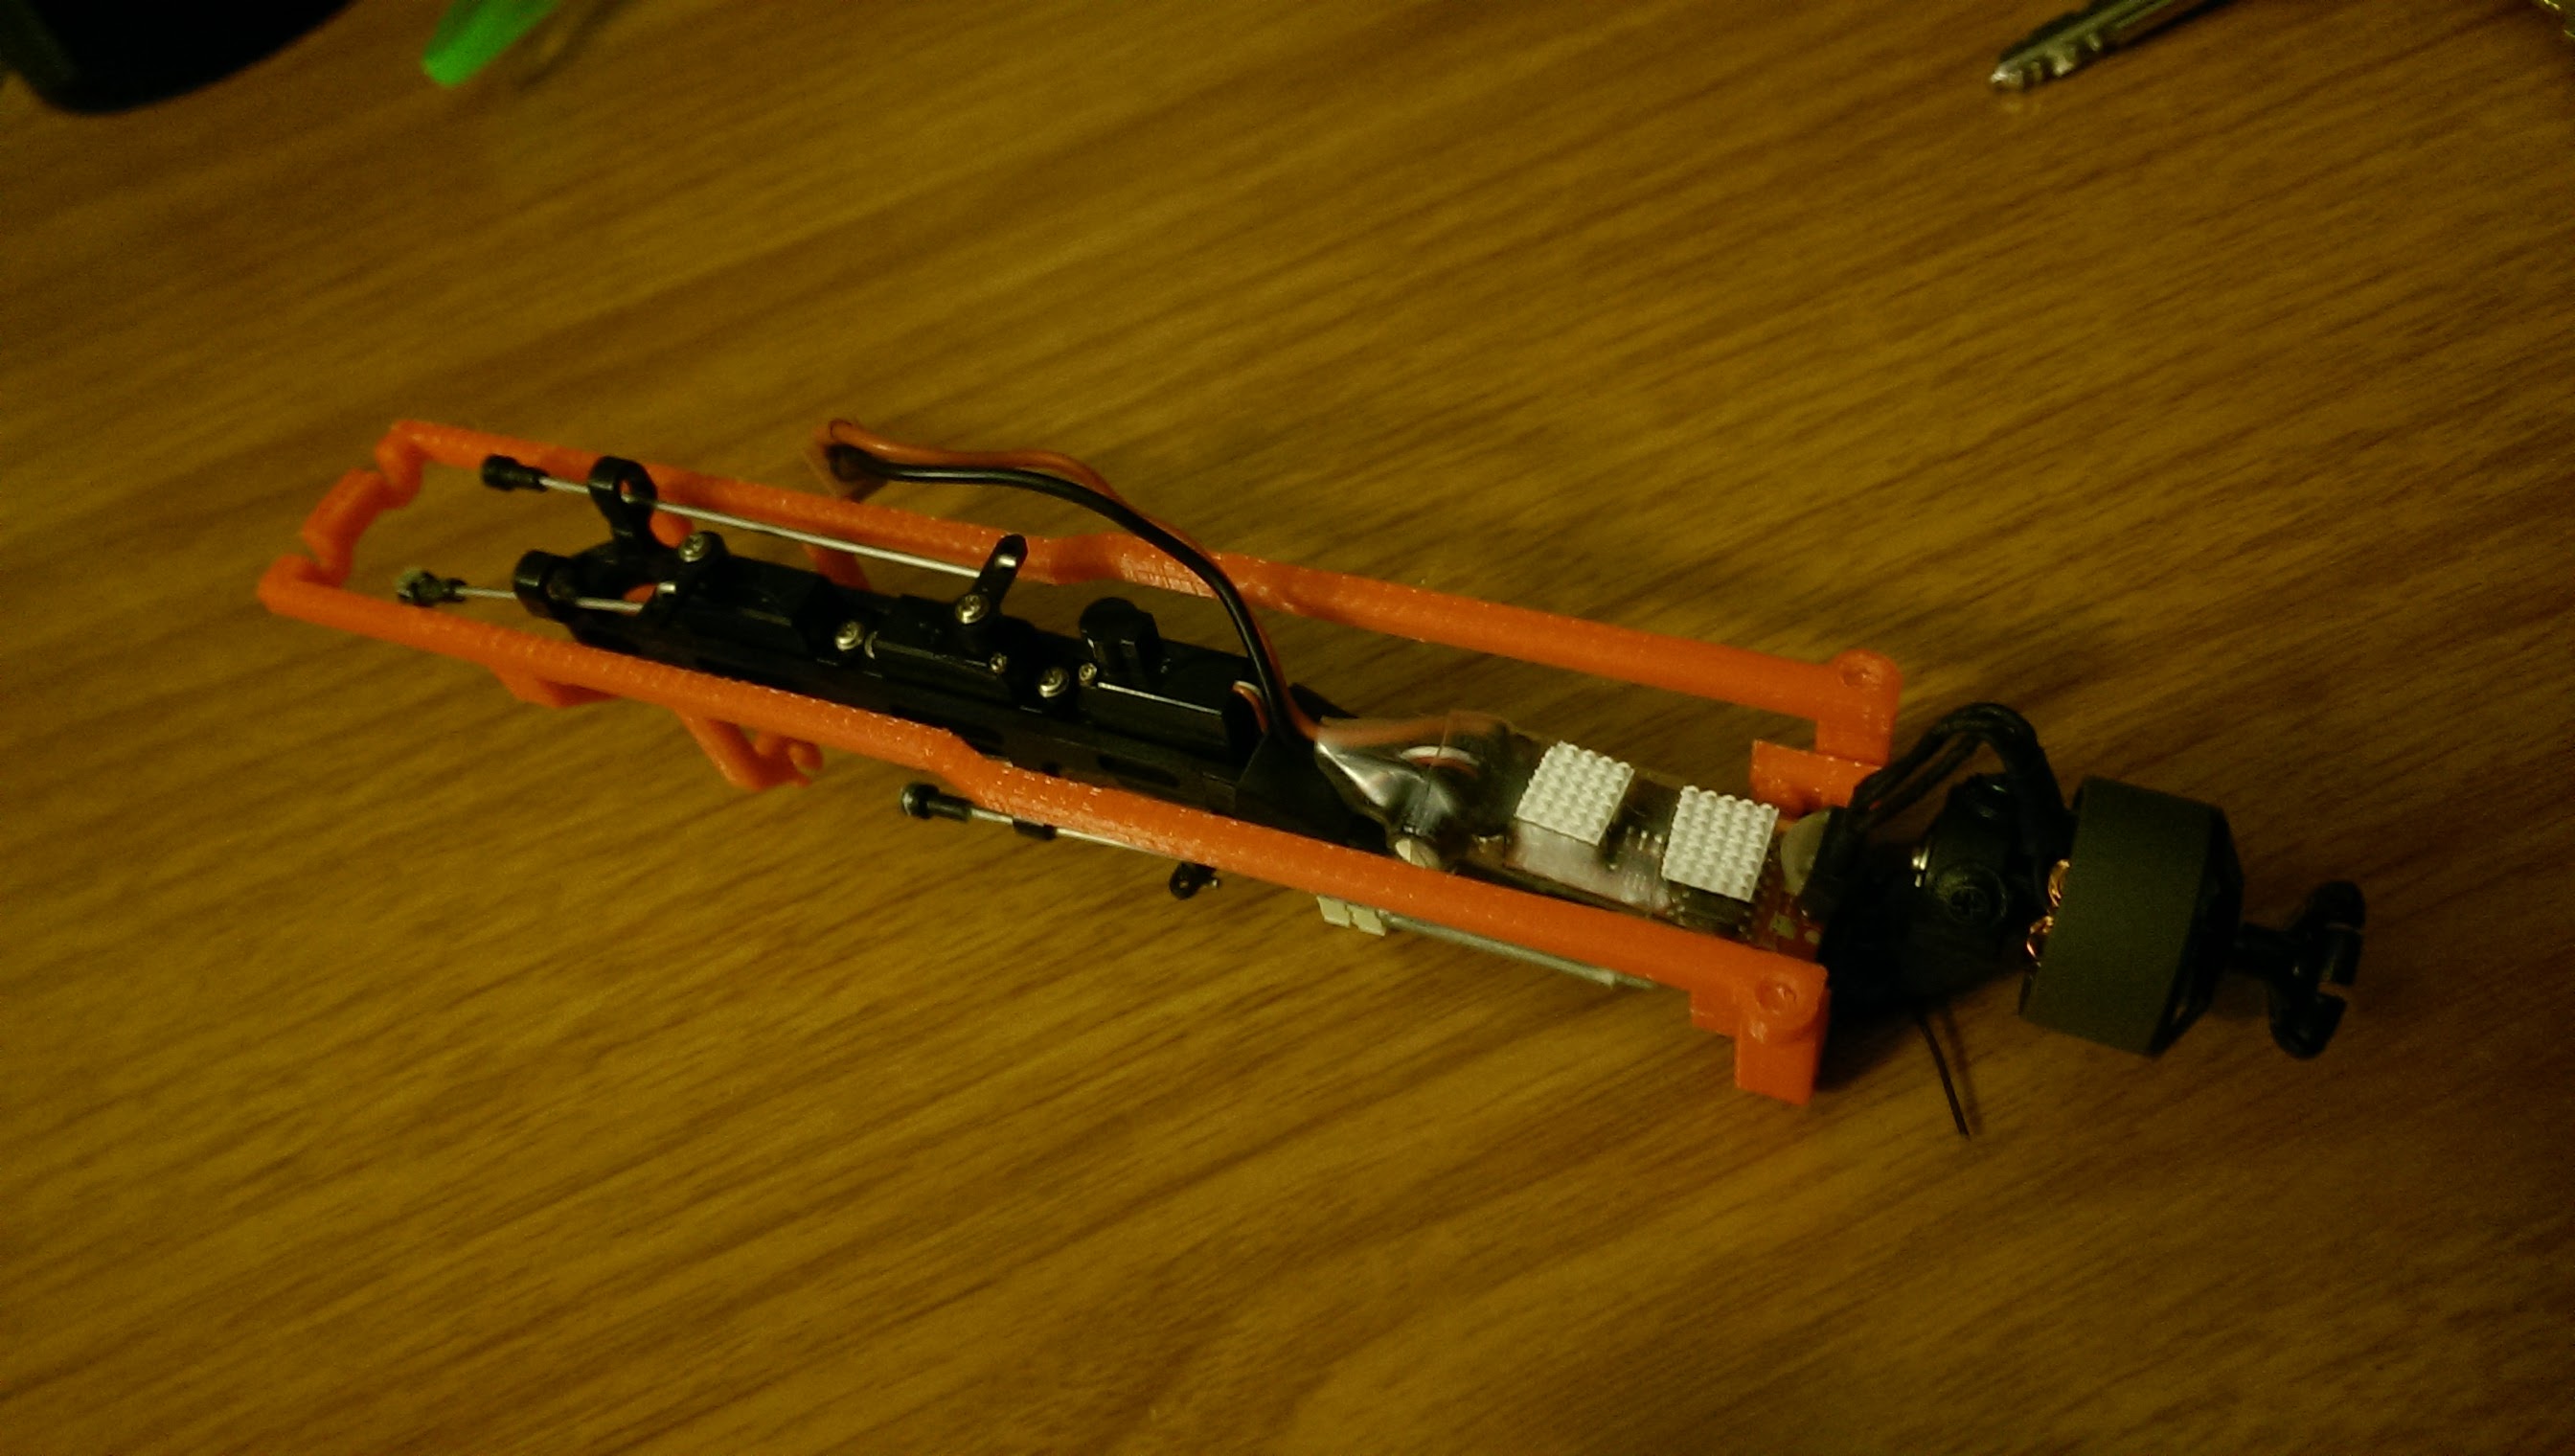
An almost perfect fit! Upon closer inspection, the distance between the rear mounting point and the front mounting point is 1.1mm too short. (See the slight slover of magnets sticking out in the below image. The power system mounts using magnets, I want them to be spot-on!) No worries, that'll be easy enough to change in Fusion, and quick enough to print again.

To scan something, I decided to take advantage of the Sense we had in the lab. After multiple attemps to use it, I deemed it worthless. It's very tricky to use, as you have to complete a circle around the item being scanned, keeping the sense a constant distance and height from the object, and pointing directly at it. It's not easy. We thought it would work better to mount the Sense on a tripod, and rotate the object being scanned on a turntable, but it would appear the Sense has accelerometers in it, and expects to be moving. Keeping the Sense in once place while spinning the object really confused the Sense, and it lost track of the item almost instantly. I tried my Mustang fuselage, and it got confused when I swung around the back, the fuselage quickly shifting from wide to narrow. I tried a black glove, which was very difficult to distinguish any detail in, and once the Sense lost tracking, there was no way I could get it back. I tried scanning my own hand, couldn't get all the way around without losing it.


Eventually, I got an okay scan of my bike helmet.


Disappointed with the fancy expensive toy, I downloaded the 123D Catch app, which prompts you to take at least 20 pictures all around an item, and it'll generate a 3D file from them. Skeptical, I tried it out, and am surprised by how well it worked! The file would still have a lot of cleaning up to do before it was ready to print, but I'm surprised by how well it did. In the future, I would position the item to scan on a big, flat, blank canvas, so the 123D Catch software doesn't get confused by background items. As it is, it looks like the NSEA Protector is flying through some poorly-rendered debris field.

I'd also try and take pictures from all angles, above and below, as the scanned item linked above is definitely connected to the stool it was sitting on. But 123D Catch is certainly an option worth trying out further for all my 3D scanning needs!